The first time I tried Snowflake Crisp, I assumed it would taste like a typical marshmallow bar.
I couldn’t have been more wrong.
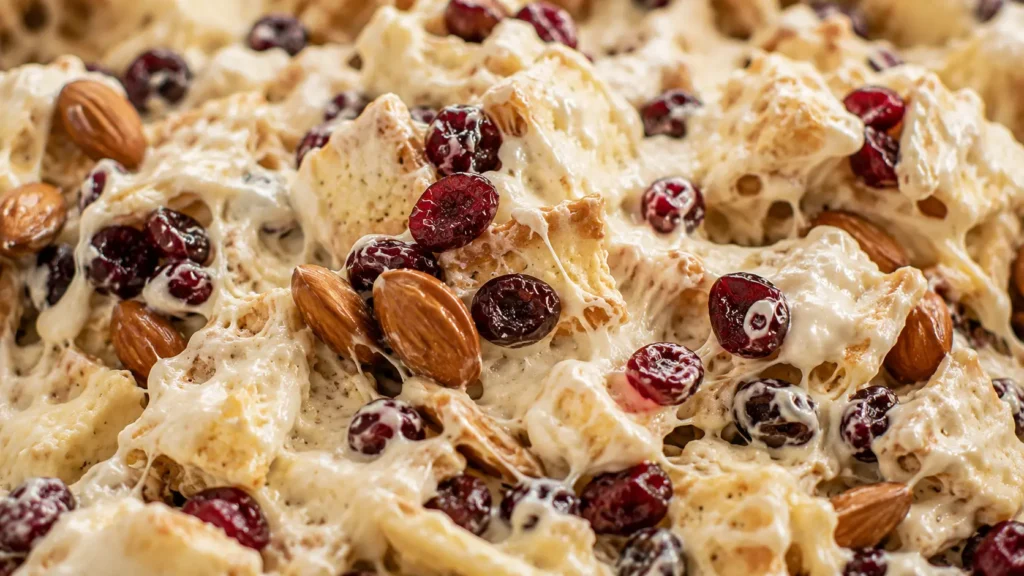
One bite delivered a combination of textures I wasn’t expecting. The marshmallow mixture was soft and chewy, the crackers added a satisfying crunch, the nuts brought richness, and the milk powder created a creamy finish that tied everything together.
What impressed me most was how balanced it felt.
Unlike many no-bake desserts that can be overwhelmingly sweet, Snowflake Crisp manages to be rich, creamy, crunchy, and light all at the same time.
It’s also one of the easiest homemade treats you can make.
There’s no baking, no candy thermometer, and no complicated techniques. Everything comes together in a single pan using ingredients that are easy to find in most grocery stores.
That’s one reason this Snowflake Crisp Recipe has become increasingly popular for holiday gifting, dessert platters, bake sales, and homemade treats.
Whether you’re making it for a special occasion or simply looking for a unique dessert to share with friends and family, this recipe delivers bakery-quality results with surprisingly little effort.
What Is Snowflake Crisp?
Snowflake Crisp is a no-bake dessert made with marshmallows, milk powder, crackers, nuts, and dried fruit.
The ingredients are combined into a chewy marshmallow mixture, pressed into a pan, coated with milk powder, and sliced into bite-sized pieces.
What makes Snowflake Crisp unique is its texture.
Instead of being soft like fudge or crunchy like brittle, it offers a combination of chewy, crispy, creamy, and crunchy textures all in one bite.
The milk powder coating gives the finished treats their signature snowy appearance while adding a rich dairy flavor that balances the sweetness of the marshmallows.
That’s exactly what makes this Snowflake Crisp Recipe so addictive.
Why You’ll Love This Snowflake Crisp Recipe
One of the best things about Snowflake Crisp is how impressive it looks despite requiring very little effort.
It’s the kind of dessert people assume took hours to make when it actually comes together in less than an hour.
Before we get started, here’s why this recipe stands out.
| Feature | Why It Matters |
|---|---|
| No Baking Required | Simple preparation |
| Unique Texture | Chewy and crispy |
| Great for Gifting | Beautiful presentation |
| Easy to Customize | Endless flavor options |
| Perfect for Holidays | Crowd favorite |
| Make-Ahead Friendly | Stores well |
The combination of simplicity and elegance makes this recipe a favorite for both beginners and experienced home bakers.
What Does Snowflake Crisp Taste Like?
The flavor is often described as a combination of marshmallow treats, nougat, and cookies.
The marshmallows create sweetness and chewiness while the milk powder adds richness and depth.
Crackers provide a light crisp texture, roasted nuts add a buttery crunch, and dried fruit contributes bursts of sweetness throughout the dessert.
The overall flavor is creamy, buttery, lightly sweet, and perfectly balanced.
That’s why this Snowflake Crisp Recipe appeals to both kids and adults.
Why Milk Powder Is So Important
Many people wonder whether milk powder is truly necessary.
The short answer is yes.
Milk powder isn’t simply a garnish. It’s one of the ingredients responsible for the dessert’s signature flavor and appearance.
The comparison below shows the difference.
| With Milk Powder | Without Milk Powder |
|---|---|
| Creamier flavor | Less richness |
| Authentic texture | Different consistency |
| Snowy appearance | Plain appearance |
| Balanced sweetness | Sweeter overall |
Using whole milk powder will provide the best flavor and texture.
Ingredients
One reason Snowflake Crisp has become such a popular homemade treat is the simplicity of the ingredient list.
Each ingredient contributes something important to the final texture and flavor.
For the Snowflake Crisp
| Ingredient | Amount |
|---|---|
| Unsalted Butter | 60g |
| Mini Marshmallows | 300g |
| Whole Milk Powder | 80g |
| Saltine Crackers | 250g |
| Roasted Almonds | 100g |
| Dried Cranberries | 80g |
These ingredients create the perfect balance of chewiness, crunch, and creaminess.
For Coating
The milk powder coating creates the signature snowy finish.
| Ingredient | Amount |
|---|---|
| Whole Milk Powder | 40g |
Don’t skip this step because it contributes both flavor and appearance.
How to Make Snowflake Crisp Recipe
The recipe moves quickly once the marshmallows begin melting.
For best results, measure and prepare all ingredients before turning on the stove.
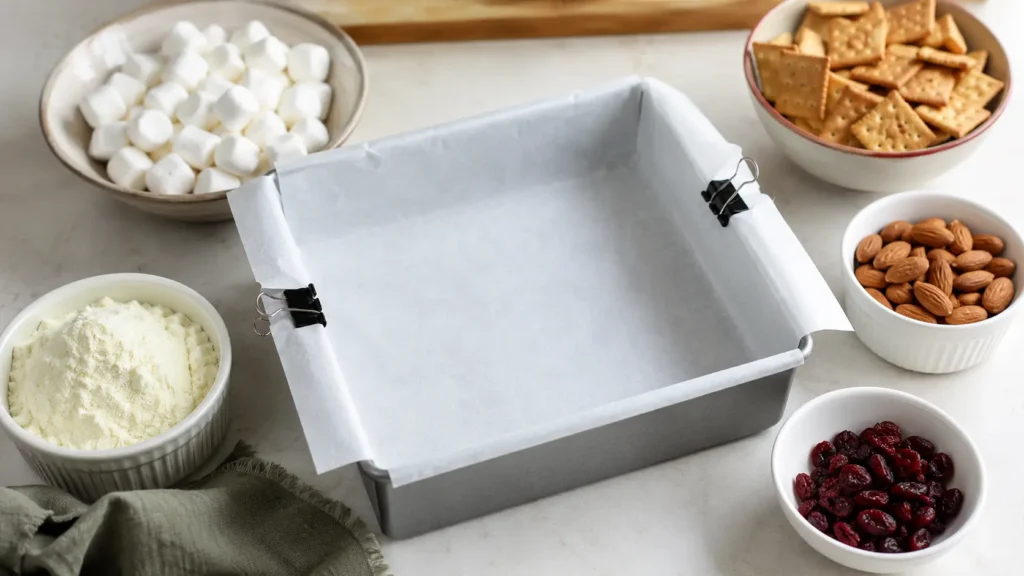
Step 1 – Prepare Your Pan
Line an 8-inch square baking pan with parchment paper.
Make sure the paper extends slightly over the sides to make removal easier later.
Preparing the pan before you start cooking is important because the marshmallow mixture begins setting quickly. Having everything ready allows you to work efficiently once the ingredients are combined.
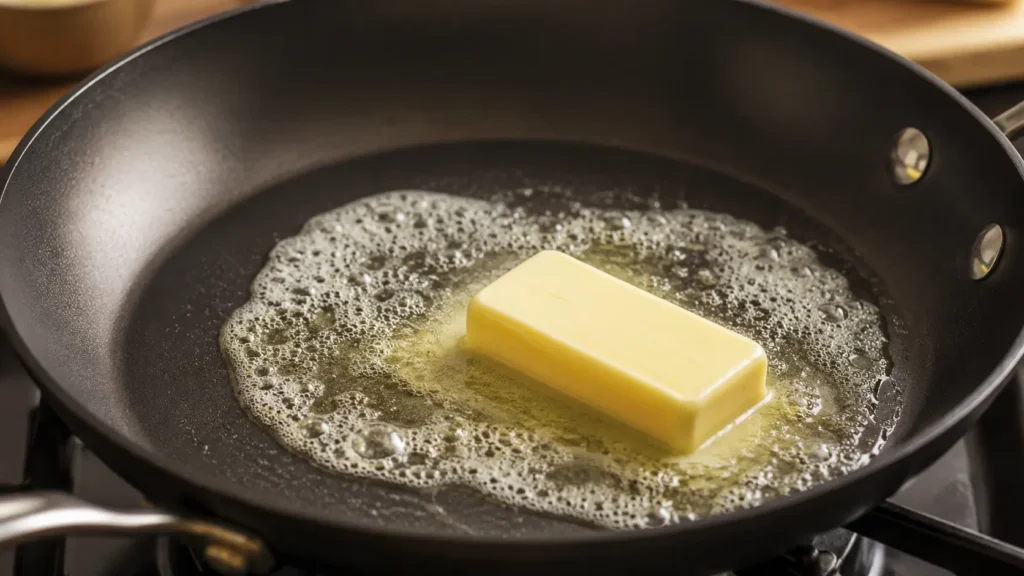
Step 2 – Melt the Butter
Place a large nonstick skillet or saucepan over low heat.
Add the butter and allow it to melt slowly until completely smooth.
Avoid rushing this step by increasing the heat. Gentle melting helps maintain the soft texture of the finished Snowflake Crisp. High heat can cause the marshmallows to become too firm later.
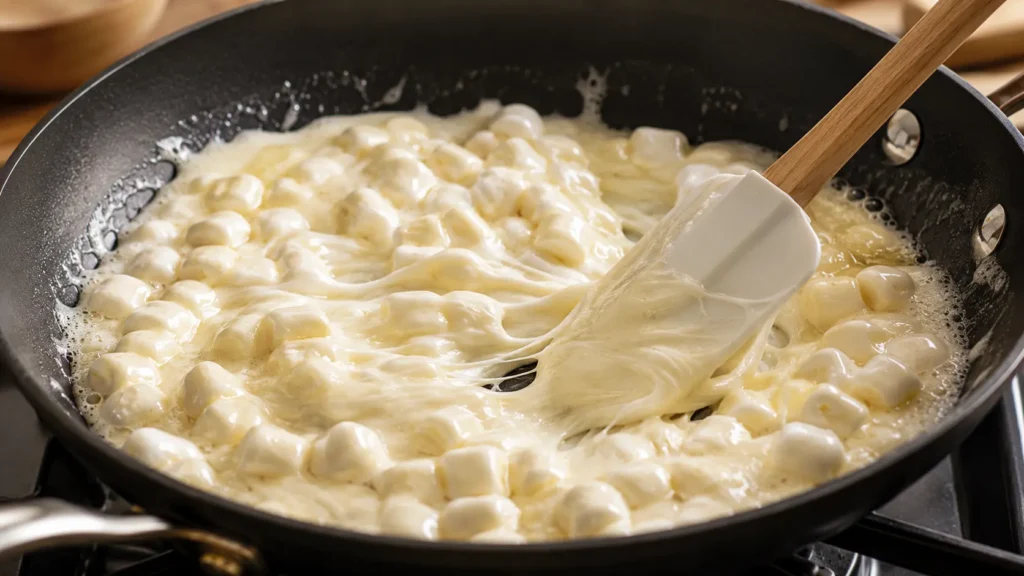
Step 3 – Melt the Marshmallows
Add the marshmallows to the melted butter.
Stir continuously until the marshmallows completely melt and form a smooth mixture.
The mixture should appear glossy and uniform with no visible lumps remaining. Slow, steady stirring ensures the marshmallows melt evenly without scorching.
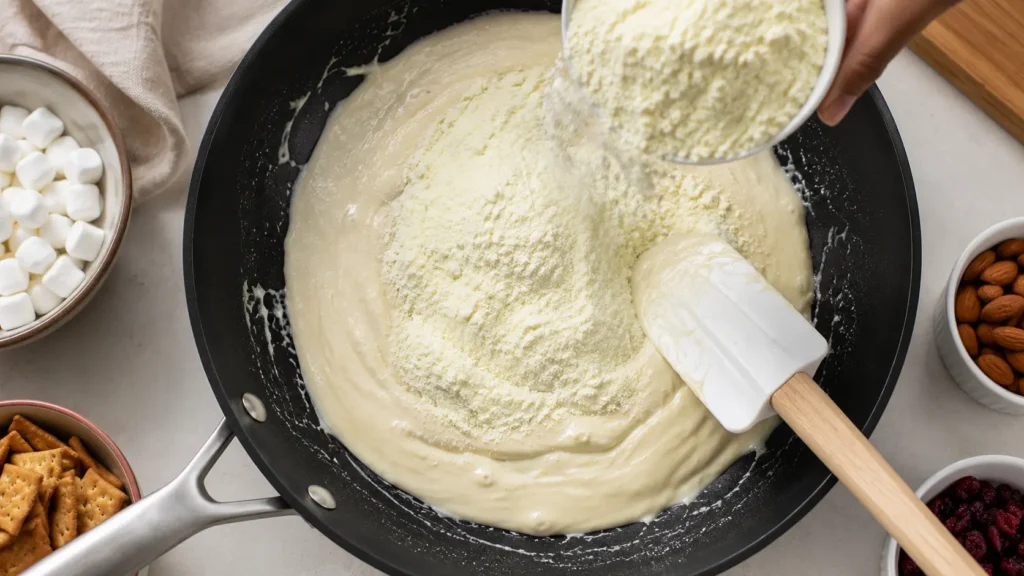
Step 4 – Add the Milk Powder
Reduce the heat to the lowest setting.
Gradually add the milk powder while stirring constantly until fully incorporated.
The milk powder transforms the marshmallow mixture by adding richness and creating the creamy flavor that makes Snowflake Crisp unique. Continue mixing until everything looks smooth and evenly blended.
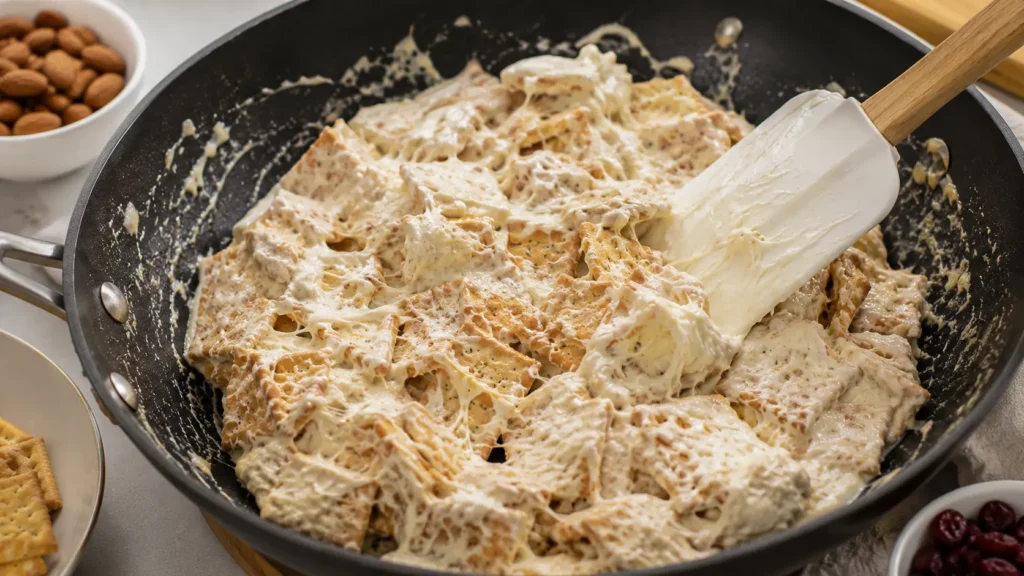
Step 5 – Fold in the Crackers
Add the crackers to the marshmallow mixture.
Using a sturdy spatula, gently fold them into the mixture until coated.
Work carefully to avoid crushing the crackers too much. Maintaining some larger pieces creates the signature crispy texture that contrasts beautifully with the chewy marshmallow base.
Step 6 – Add the Almonds and Cranberries
Add the roasted almonds and dried cranberries.
Continue folding until everything is evenly distributed throughout the mixture.
The almonds provide crunch while the cranberries add small bursts of sweetness and color. Making sure they’re evenly distributed ensures every piece has the perfect balance of textures.
Step 7 – Transfer to the Pan
Immediately transfer the mixture into the prepared baking pan.
Use a spatula or lightly greased gloves to gently press it into an even layer.
Avoid packing the mixture too tightly. Gentle pressure helps maintain the lighter texture while still allowing the bars to hold their shape once cooled.
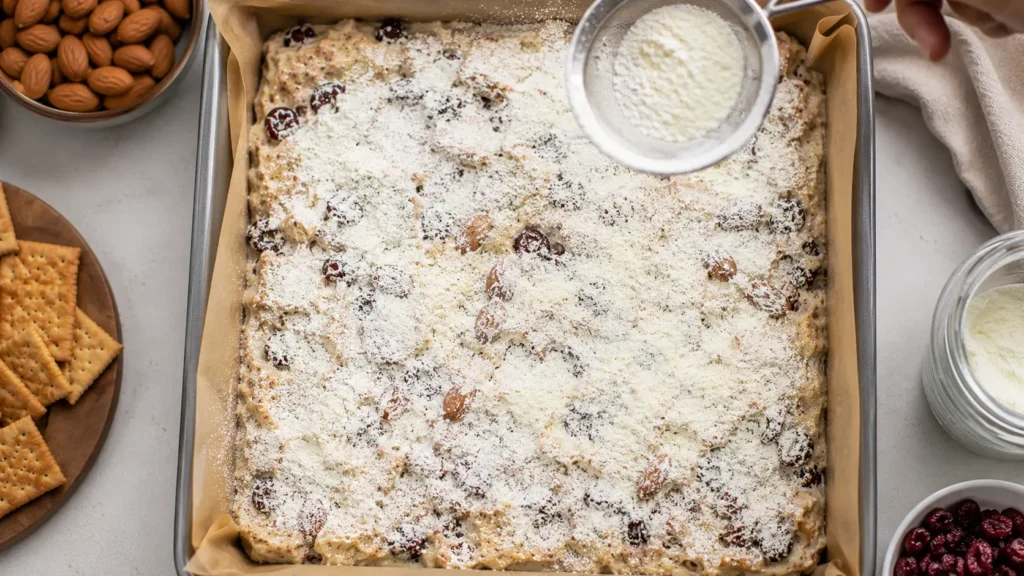
Step 8 – Coat with Milk Powder
While the mixture remains slightly warm, dust the surface generously with milk powder.
Carefully flip the slab and coat the opposite side as well.
This coating creates the beautiful snowy appearance that gives the dessert its name. It also prevents sticking and adds another layer of creamy flavor.
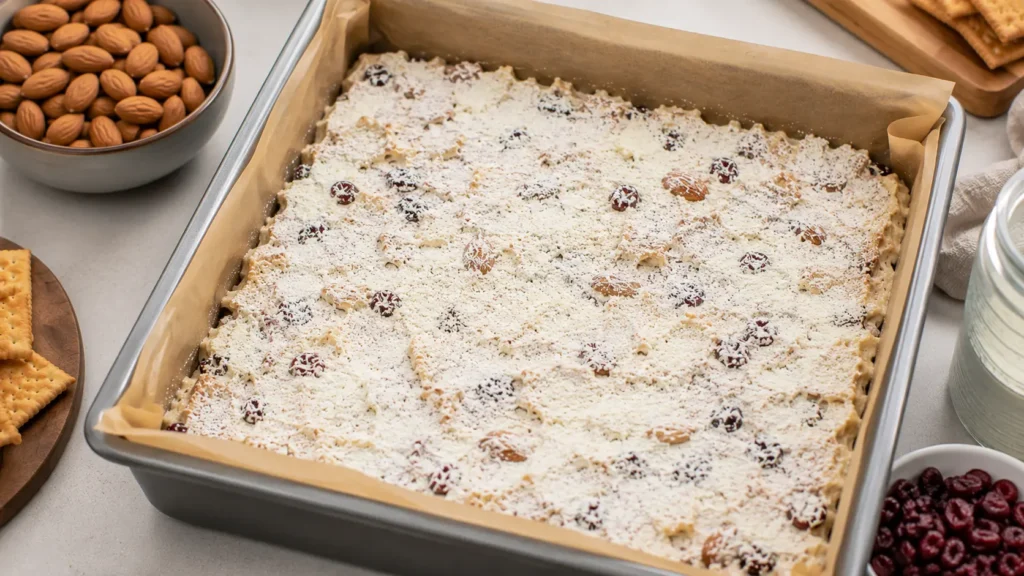
Step 9 – Cool Completely
Allow the Snowflake Crisp to cool at room temperature for about 30 to 45 minutes.
Resist the temptation to cut it too early.
Cooling allows the marshmallow mixture to set properly, making it easier to achieve clean slices and a professional appearance.
Step 10 – Slice and Serve
Using a sharp knife, cut the Snowflake Crisp into squares or rectangles.
Wipe the knife between cuts if necessary for cleaner edges.
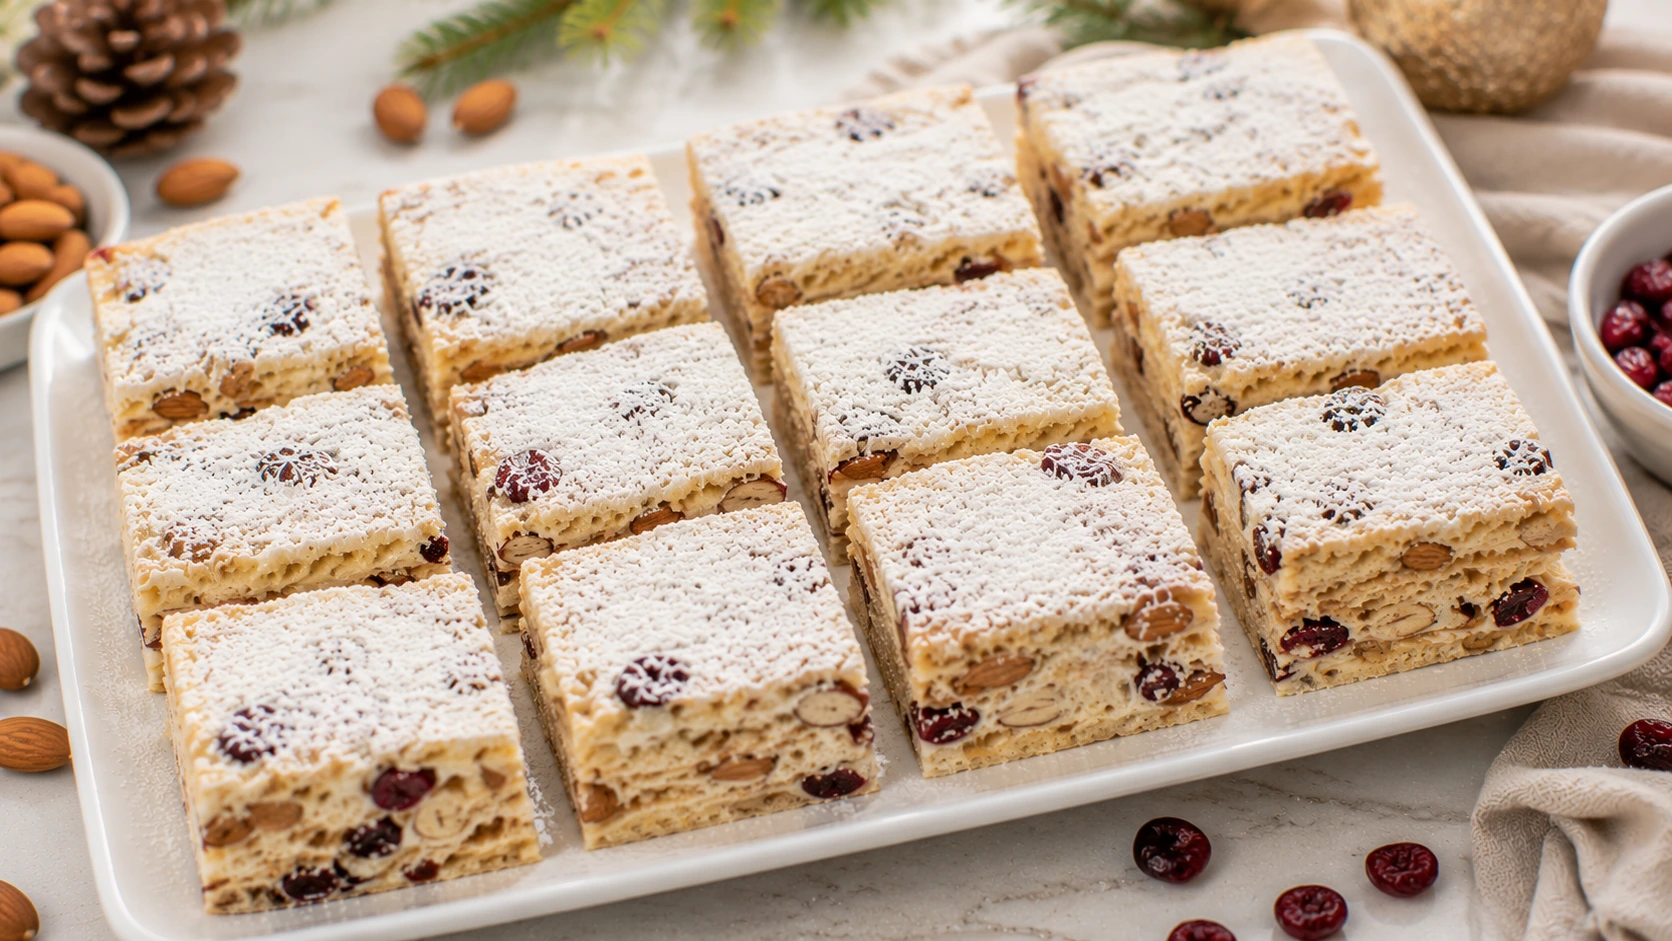
The finished pieces should reveal visible layers of crackers, almonds, and cranberries throughout the creamy marshmallow base.

Best Add-Ins for Snowflake Crisp
One reason this recipe remains so popular is its versatility.
A few simple substitutions can completely change the flavor profile.
| Add-In | Why It Works |
|---|---|
| Pistachios | Beautiful color |
| Cashews | Rich and buttery |
| Dried Cherries | Sweet-tart flavor |
| Freeze-Dried Strawberries | Fruity twist |
| Oreo Pieces | Cookies and cream flavor |
| Pecans | Extra crunch |
These additions make it easy to customize the recipe for different occasions.
Expert Tips for the Best Results
A few small techniques can dramatically improve your results.
| Tip | Benefit |
|---|---|
| Use Low Heat | Better texture |
| Measure Ingredients First | Easier assembly |
| Use Fresh Marshmallows | Better chewiness |
| Don’t Overmix | Preserves texture |
| Cool Before Slicing | Cleaner cuts |
These simple adjustments can make a noticeable difference.
Common Mistakes to Avoid
Even easy recipes can run into problems if certain steps are skipped.
| Mistake | Result |
|---|---|
| High Heat | Tough texture |
| Old Marshmallows | Poor consistency |
| Crushing Crackers | Less crunch |
| Skipping Milk Powder | Less authentic flavor |
| Cutting Too Soon | Messy slices |
Avoiding these mistakes helps ensure success every time.
Storage
Snowflake Crisp stores surprisingly well when handled properly.
| Storage Method | Time |
|---|---|
| Room Temperature | 5 Days |
| Refrigerator | 1 Week |
| Freezer | 1 Month |
Store the pieces in an airtight container to maintain freshness.
Nutrition Information
| Nutrient | Amount |
|---|---|
| Calories | 210 |
| Carbohydrates | 28g |
| Fat | 9g |
| Protein | 4g |
| Sugar | 16g |
Values are approximate and may vary based on ingredients used.
Frequently Asked Questions
The most common reason is overheating the marshmallows. When marshmallows cook over high heat or remain on the stove too long, the sugar structure changes and creates a firmer texture. For the best Snowflake Crisp, always melt the marshmallows slowly over low heat and remove the pan from the heat as soon as the mixture becomes smooth.
Milk powder is one of the signature ingredients in Snowflake Crisp and gives it its creamy flavor and snowy appearance. While the recipe can technically be made without it, the texture and flavor won’t be as rich or authentic. Whole milk powder is strongly recommended for the best results.
Saltine crackers are the most popular choice because they provide the perfect balance of crunch and mild flavor. However, digestive biscuits, butter crackers, or lightly sweet tea biscuits can also work well. The goal is to use a crisp cracker that can hold its texture when mixed with the marshmallow base.
When stored in an airtight container at room temperature, Snowflake Crisp typically stays fresh for up to 5 days. For longer storage, it can be refrigerated for about a week. Keeping it away from moisture helps preserve the chewy and crispy texture.
Yes. Snowflake Crisp freezes surprisingly well for up to 1 month. Place the pieces in an airtight container with parchment paper between layers to prevent sticking. Allow them to come to room temperature before serving for the best texture.
Why This Snowflake Crisp Recipe Is Worth Making
Some homemade treats look impressive but require hours of work.
This isn’t one of them.
This Snowflake Crisp Recipe combines simple ingredients and easy preparation to create a dessert that’s beautiful, delicious, and surprisingly versatile. The combination of chewy marshmallow, crunchy crackers, creamy milk powder, roasted almonds, and sweet cranberries creates a texture unlike almost any other homemade treat.
Whether you’re preparing holiday gifts, dessert trays, or a special snack for your family, this recipe delivers reliable results every time. Once you make your first batch, there’s a good chance it will become one of those recipes you return to throughout the year.
Snowflake Crisp Recipe
Ingredients
Equipment
Method
- Line an 8-inch square pan with parchment paper and set aside. Prepare all ingredients before beginning since the marshmallow mixture sets quickly.
- Place a large nonstick skillet over low heat and melt the butter completely until smooth.
- Add the mini marshmallows and stir continuously until fully melted and smooth. Do not allow the mixture to brown.
- Reduce the heat to low and gradually stir in the milk powder until completely incorporated.
- Add the broken crackers and gently fold until evenly coated with the marshmallow mixture.
- Add the roasted almonds and dried cranberries. Continue folding until all ingredients are evenly distributed.
- Transfer the mixture to the prepared pan. Gently press it into an even layer using a spatula or lightly greased gloves.
- Dust the top generously with milk powder. Carefully flip the slab and coat the opposite side as well.
- Allow the mixture to cool completely at room temperature for 30–45 minutes until firm.
- Use a sharp knife to cut into squares or rectangles and serve.
Notes
- Use fresh marshmallows for the softest and chewiest texture.
- Keep the heat low to prevent the marshmallow mixture from becoming hard.
- Work quickly once the crackers are added because the mixture sets fast.
- Whole milk powder provides the best flavor and authentic texture.
- Store in an airtight container to maintain freshness and crunch.