The first time I cooked pork jowl at home, I wasn’t entirely sure what to expect.
I’d heard chefs describe it as one of the most flavorful cuts on the pig, but it wasn’t nearly as common as pork belly, bacon, or pork shoulder. When I finally brought home a few slices from a local butcher and cooked them until golden and crispy, I immediately understood why pork jowl has such a loyal following.
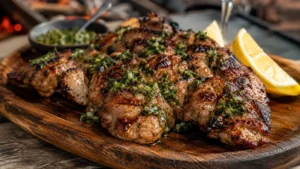
The flavor is rich, savory, and deeply porky in the best possible way. The fat slowly renders during cooking, creating an incredible texture that’s crispy on the outside and tender on the inside.
What makes pork jowl special is its versatility. It can be smoked, braised, grilled, cured, or pan-fried, but one thing remains consistent: when cooked properly, it delivers exceptional flavor.
After testing several cooking methods, I found that a simple braise followed by a quick skillet sear consistently produced the best results. The slow cooking keeps the meat tender, while the final sear creates the crispy exterior everyone loves.
This Pork Jowl Recipe focuses on simple ingredients, straightforward techniques, and maximum flavor.
Whether you’re trying pork jowl for the first time or looking for a reliable way to cook it, this recipe is a great place to start.
What Is Pork Jowl?
Pork jowl comes from the cheek of the pig.
It’s a richly marbled cut that contains both meat and fat, giving it incredible flavor and tenderness when cooked properly.
In many parts of the world, pork jowl is considered a delicacy. It’s commonly used in Southern cooking, Italian cuisine, and traditional barbecue recipes.
Because of its fat content, pork jowl develops a rich flavor similar to bacon while maintaining a texture that’s uniquely its own.
That’s one reason this Pork Jowl Recipe has become increasingly popular among home cooks looking to explore lesser-known cuts of pork.
Why You’ll Love This Pork Jowl Recipe
One of the best things about pork jowl is how much flavor it delivers with very little effort.
A few simple ingredients are all that’s needed to transform this cut into something truly memorable.
Before we begin, here’s why this recipe stands out.
| Feature | Why It Matters |
|---|---|
| Rich Flavor | More flavorful than many pork cuts |
| Crispy Exterior | Incredible texture |
| Tender Interior | Slow-cooked perfection |
| Budget Friendly | Often less expensive than pork belly |
| Easy Preparation | Simple ingredients |
| Versatile | Works with many side dishes |
The combination of crispy texture and rich flavor is what makes pork jowl so special.
What Does Pork Jowl Taste Like?
Many people compare pork jowl to bacon because both cuts contain a significant amount of fat.
While there are similarities, pork jowl has a richer and more pronounced pork flavor.
The meat becomes incredibly tender while the rendered fat creates a crisp, golden crust during searing.
The overall flavor is savory, smoky, slightly sweet, and intensely satisfying.
That’s what makes this Pork Jowl Recipe so appealing to barbecue enthusiasts and pork lovers alike.
Pork Jowl vs Bacon
One of the most common questions people ask is how pork jowl differs from bacon.
Although both cuts are rich and flavorful, there are important differences.
| Pork Jowl | Bacon |
|---|---|
| Comes from the cheek | Comes from the belly |
| Thicker texture | Thinner slices |
| Richer pork flavor | Smokier flavor |
| Usually uncured | Often cured |
| More versatile | Primarily breakfast meat |
Both are delicious, but pork jowl offers a unique texture and flavor experience.
Ingredients
This recipe uses simple ingredients that complement the natural richness of the pork.
The goal is to enhance the flavor rather than overpower it.
For the Pork Jowl
| Ingredient | Amount |
|---|---|
| Pork Jowl | 2 pounds |
| Kosher Salt | 2 teaspoons |
| Black Pepper | 1 teaspoon |
| Garlic Powder | 1 teaspoon |
| Smoked Paprika | 1 teaspoon |
| Olive Oil | 1 tablespoon |
These ingredients create a balanced seasoning that works beautifully with the pork.
For Braising
The braising liquid helps keep the pork tender while adding subtle flavor.
| Ingredient | Amount |
|---|---|
| Chicken Broth | 2 cups |
| Onion | 1 large, sliced |
| Garlic Cloves | 4 |
| Bay Leaves | 2 |
The aromatics add depth without competing with the pork.
How to Make Pork Jowl Recipe
The key to great pork jowl is cooking it slowly before crisping the exterior.
This two-step method creates the perfect balance of tenderness and texture.
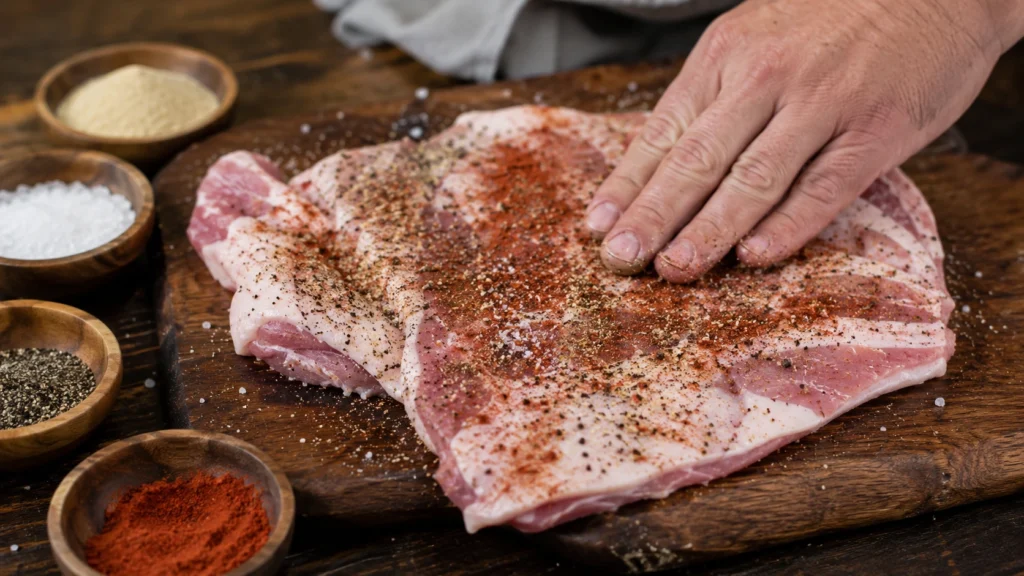
Step 1 – Season the Pork Jowl
Pat the pork jowl dry with paper towels. This helps the seasoning adhere more effectively and encourages better browning later.
Season both sides generously with kosher salt, black pepper, garlic powder, and smoked paprika. Make sure every surface is evenly coated.
Allow the pork to rest for about 20 minutes before cooking. This gives the seasoning time to penetrate the meat and enhances overall flavor.
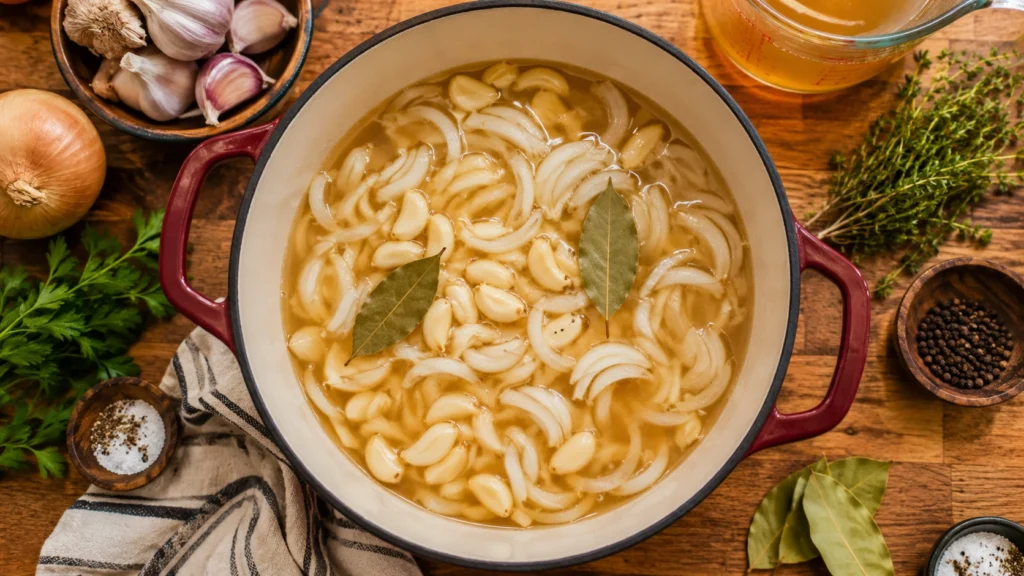
Step 2 – Prepare the Braising Liquid
Arrange the sliced onions, garlic cloves, and bay leaves in the bottom of a Dutch oven or oven-safe pot.
Pour in the chicken broth and stir gently to distribute the aromatics.
The braising liquid helps keep the pork moist during cooking while slowly infusing it with additional flavor. It also prevents the meat from drying out during the long cooking process.
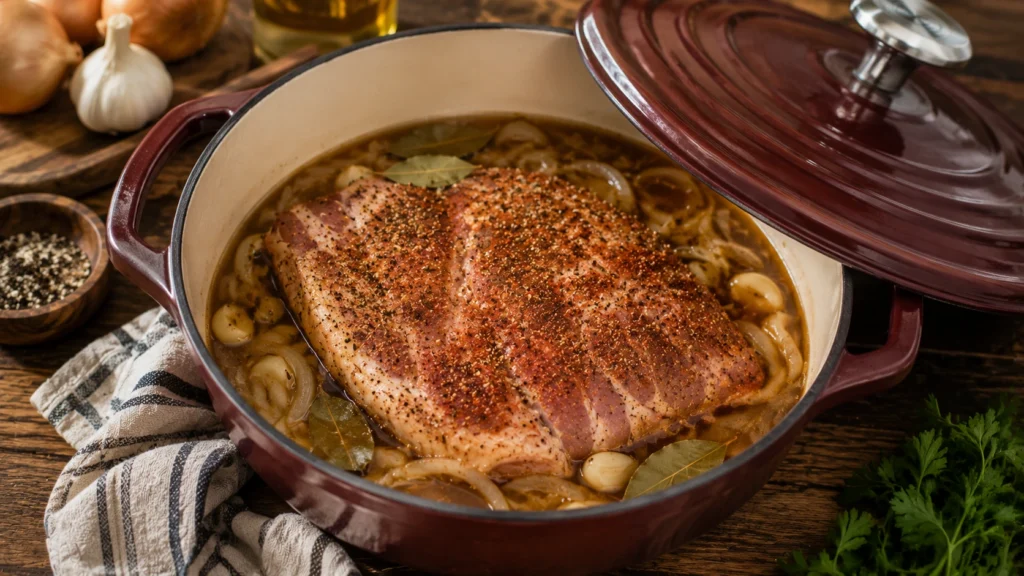
Step 3 – Braise the Pork Jowl
Place the seasoned pork jowl into the pot.
Cover tightly with a lid or aluminum foil and transfer to a 300°F oven.
Cook for approximately 2½ to 3 hours, or until the pork becomes fork-tender. During this time, the connective tissue breaks down and the fat slowly renders, creating a rich and tender texture.
Step 4 – Remove and Cool Slightly
Carefully remove the pork jowl from the braising liquid and place it on a cutting board.
Allow it to rest for about 10 minutes before slicing.
This resting period helps the juices redistribute throughout the meat while making the pork easier to handle during the next step.
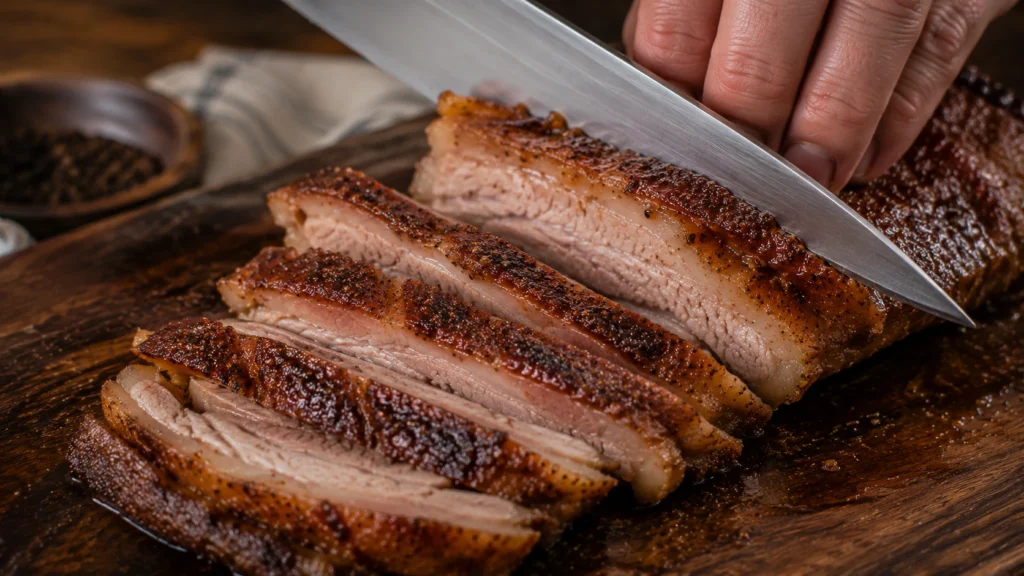
Step 5 – Slice the Pork Jowl
Using a sharp knife, slice the pork jowl into thick pieces.
Try to keep the slices relatively uniform in size to promote even browning.
At this stage, the pork will already be tender, but the final sear is what transforms it into something truly special.
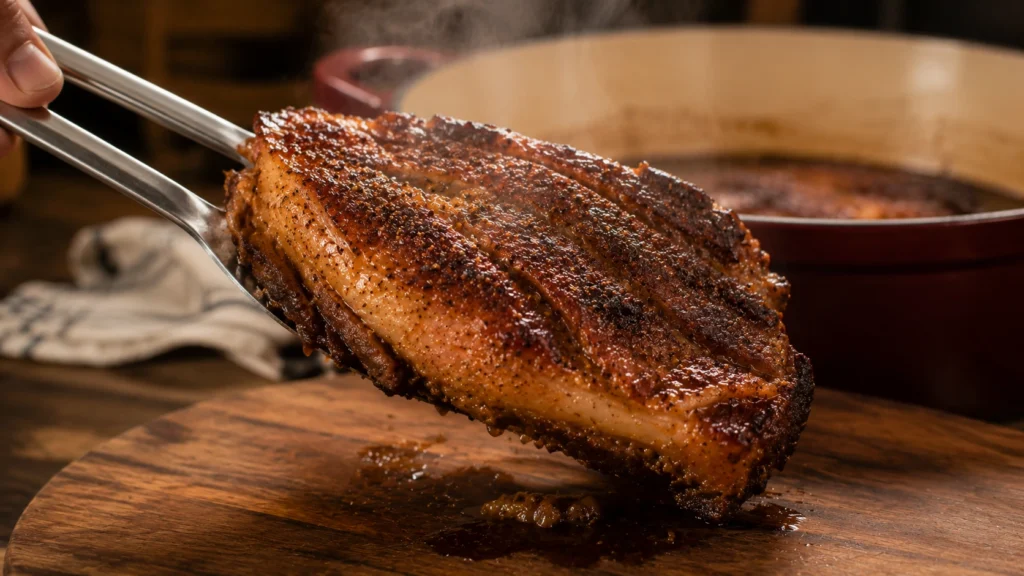
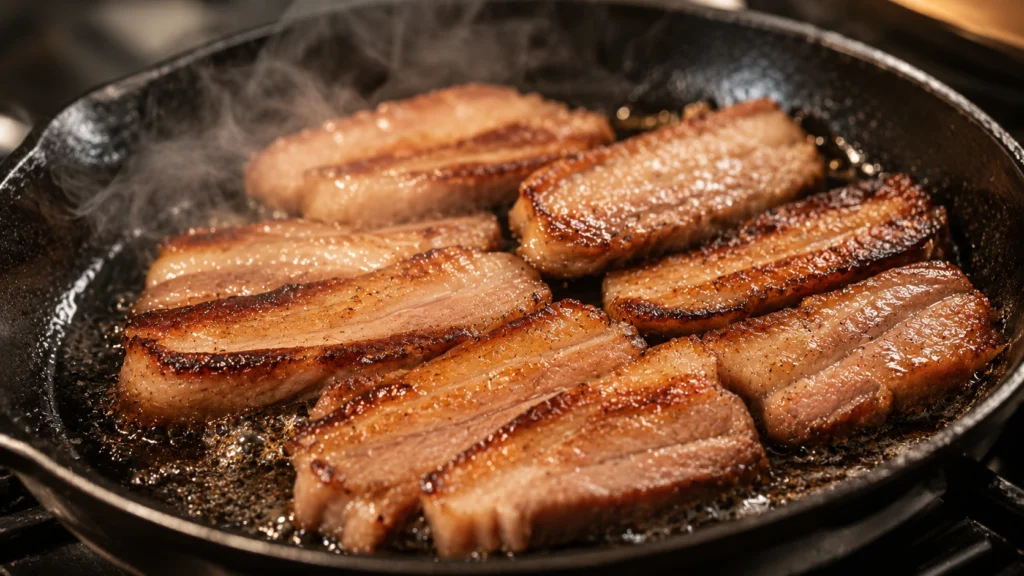
Step 6 – Crisp the Pork Jowl
Heat a large cast-iron skillet over medium-high heat.
Place the slices into the skillet and cook for 2 to 3 minutes per side until deeply golden and crispy.
The rendered fat creates a beautiful crust while keeping the interior tender and juicy. This step adds texture and intensifies the overall flavor.
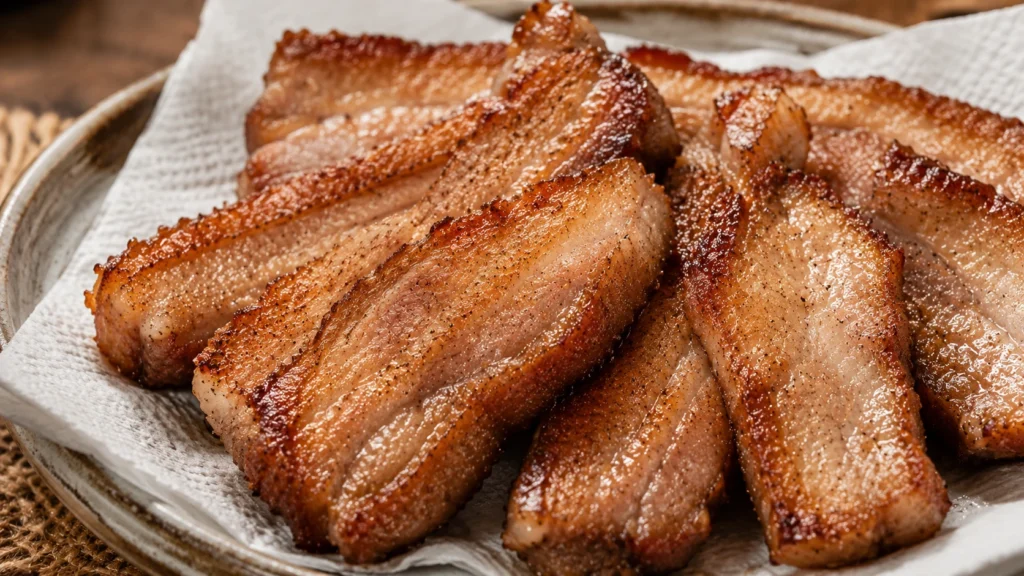
Step 7 – Drain and Rest
Transfer the crispy pork jowl to a plate lined with paper towels.
Allow it to rest for a few minutes before serving.
This brief resting period helps preserve the crisp exterior while allowing excess grease to drain away.
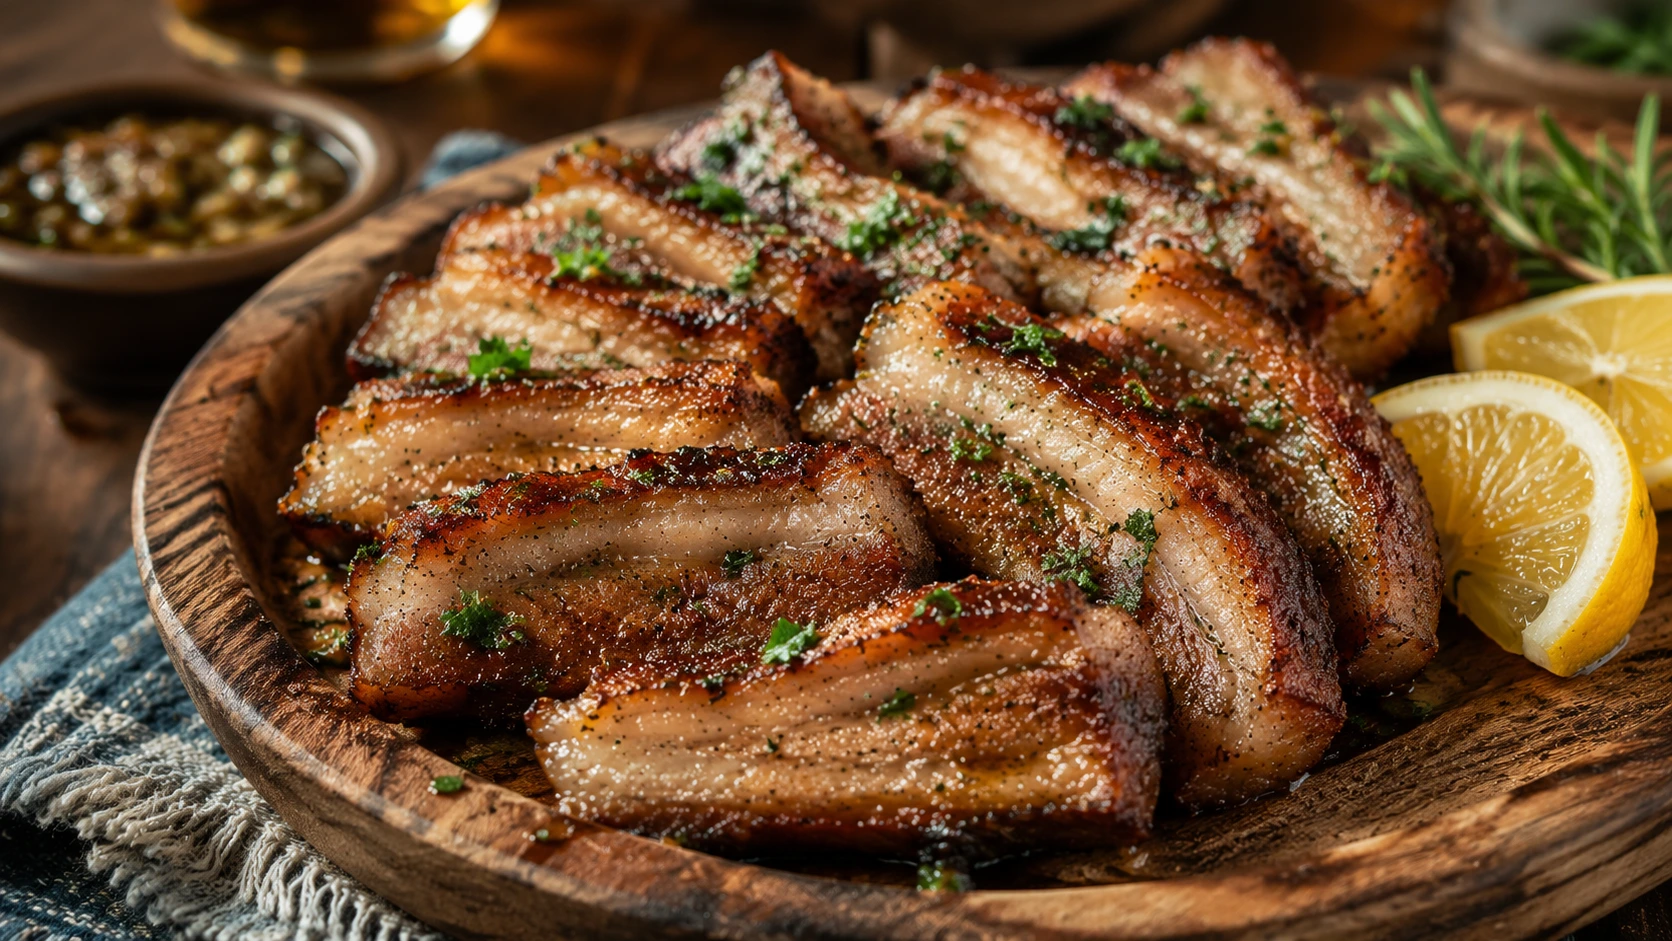
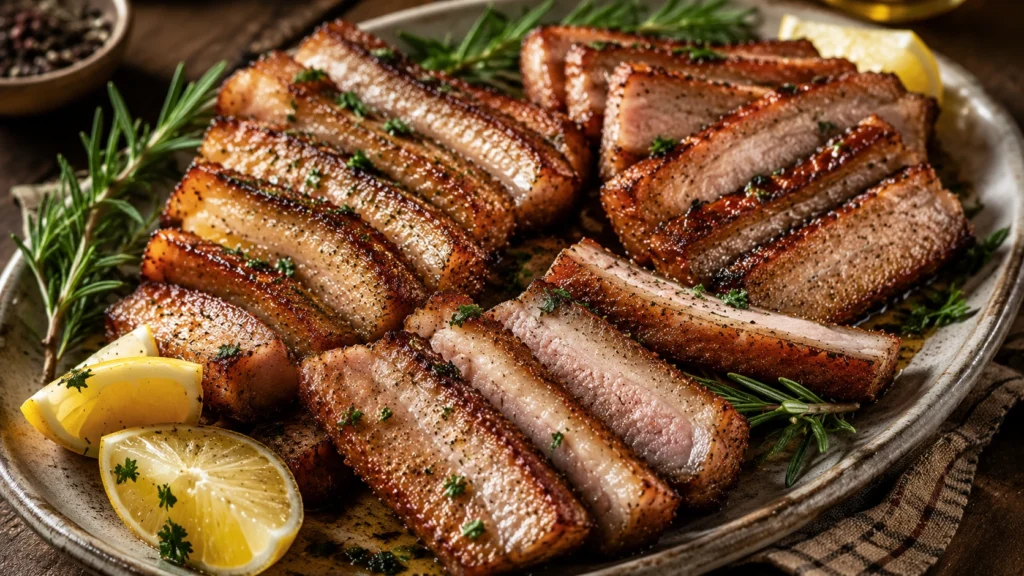
Step 8 – Serve and Enjoy
Arrange the pork jowl on a serving platter and serve immediately.
The combination of crispy edges and tender meat is best enjoyed while hot.
A squeeze of fresh lemon or a simple herb garnish can add brightness and balance the richness of the pork.
What to Serve with Pork Jowl
Because pork jowl is rich and flavorful, lighter side dishes often work best.
The sides below create a balanced meal.
| Side Dish | Why It Works |
|---|---|
| Mashed Potatoes | Comfort food classic |
| Roasted Vegetables | Adds freshness |
| Coleslaw | Crunchy contrast |
| Mac and Cheese | Rich pairing |
| Cornbread | Southern favorite |
| Green Beans | Light balance |
Simple sides help keep the focus on the pork.
Expert Tips for the Best Results
Small details can dramatically improve the final dish.
These techniques consistently produced the best results during testing.
| Tip | Benefit |
|---|---|
| Pat Dry First | Better browning |
| Braise Slowly | Tender meat |
| Use Cast Iron | Superior crust |
| Don’t Rush the Sear | Better texture |
| Rest Before Serving | Retains juices |
Attention to detail makes a noticeable difference.
Common Mistakes to Avoid
Even simple recipes can run into problems if key steps are skipped.
Avoiding these mistakes helps ensure success.
| Mistake | Result |
|---|---|
| High Braising Temperature | Tough meat |
| Skipping the Sear | Less texture |
| Overcrowding the Pan | Poor browning |
| Underseasoning | Flat flavor |
| Slicing Too Early | Juice loss |
Taking your time leads to much better results.
Storage and Reheating
Pork jowl stores surprisingly well when handled properly.
| Storage Method | Time |
|---|---|
| Refrigerator | Up to 4 Days |
| Freezer | Up to 2 Months |
For best results, reheat in a skillet rather than a microwave to help restore the crispy exterior.
Nutrition Information
| Nutrient | Amount |
|---|---|
| Calories | 430 |
| Protein | 24g |
| Fat | 34g |
| Carbohydrates | 3g |
| Sodium | 520mg |
Values are estimates and may vary based on ingredients used.
Frequently Asked Questions
No. Pork jowl comes from the pig’s cheek, while pork belly comes from the underside of the pig. Both are rich and fatty, but pork jowl has a more concentrated pork flavor.
Braising isn’t always required, but it helps create a tender interior while making it easier to achieve a crispy exterior during the final sear.
Many local butcher shops carry pork jowl, and it’s often available at specialty meat markets and some grocery stores with a full-service meat department.
Yes. After braising, the slices can be crisped in an air fryer instead of a skillet for a slightly lighter finish.
Pork jowl contains a rich combination of meat and fat. As the fat renders during cooking, it creates incredible flavor and texture.
Why This Pork Jowl Recipe Is Worth Making
Some cuts of meat remain underrated simply because people haven’t had the opportunity to try them.
Pork jowl is one of those cuts.
This Pork Jowl Recipe highlights everything that makes it special: rich flavor, tender meat, and a crispy golden crust that develops during the final sear. The simple seasoning and slow cooking method allow the natural qualities of the pork to shine.
If you’re looking to expand your cooking skills or discover a new favorite cut of pork, this recipe is well worth trying. Once you experience the texture and flavor of properly cooked pork jowl, it’s easy to see why chefs and barbecue enthusiasts appreciate it so much.
Pork Jowl Recipe
Ingredients
Equipment
Method
- Pat the pork jowl dry with paper towels and season evenly with kosher salt, black pepper, garlic powder, and smoked paprika. Let rest for 20 minutes.
- Place the sliced onion, garlic cloves, and bay leaves in the bottom of a Dutch oven. Pour in the chicken broth.
- Add the seasoned pork jowl to the Dutch oven. Cover tightly and cook at 300°F for 2½ to 3 hours until fork-tender.
- Remove the pork jowl from the braising liquid and allow it to cool slightly for about 10 minutes.
- Slice the pork jowl into thick pieces using a sharp knife.
- Heat a cast-iron skillet over medium-high heat. Sear the pork jowl slices for 2 to 3 minutes per side until crispy and golden brown.
- Transfer the crispy pork jowl to a paper towel-lined plate and allow it to rest briefly.
- Serve immediately while hot and crispy.
Notes
- Pork jowl becomes more tender when cooked low and slow.
- Do not skip the final skillet sear for the best texture.
- Cast iron helps create a restaurant-quality crust.
- Save the braising liquid for soups or sauces.
- Serve immediately for maximum crispiness.